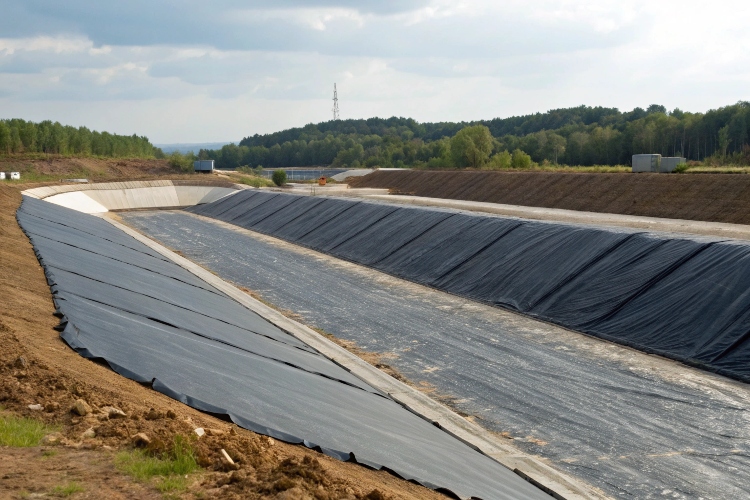
While HDPE geomembranes are the industry standard for rigidity, many projects demand greater flexibility to accommodate settlement or complex geometries. This is where LLDPE excels, but its unique properties can lead to failed welds if you use HDPE techniques. A stretched panel or an overheated seam can easily compromise your entire containment system.
This ultimate guide focuses specifically on welding and installing LLDPE geomembranes. We will explore its unique welding behavior compared to HDPE, detail the correct equipment and parameters, and provide practical troubleshooting tips. This will give your team the knowledge to ensure strong, durable, and leak-free LLDPE liner installations.
To master LLDPE installation, we must first understand what makes it fundamentally different from its more rigid counterpart, HDPE.
Polietileno Linear de Baixa Densidade (LLDPE) is engineered for applications requiring enhanced flexibility and elongation. Unlike the highly crystalline structure of HDPE, LLDPE has a more amorphous molecular structure with shorter polymer chains. This gives it a lower density and several key advantages:
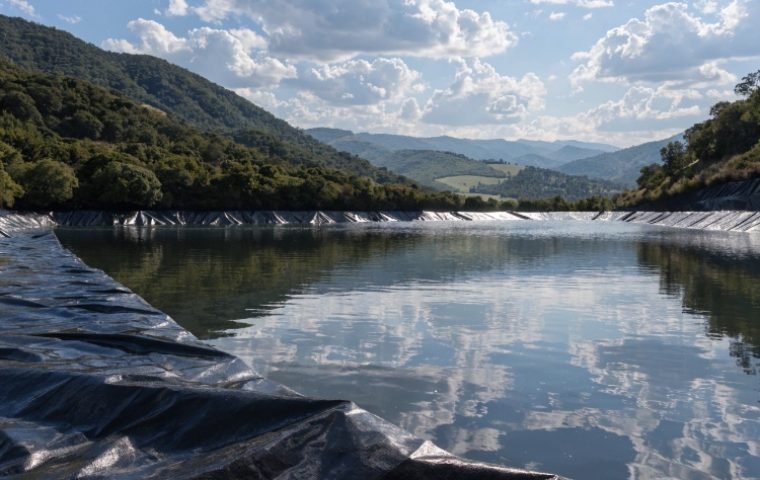
- Superior Flexibility: LLDPE can easily conform to uneven subgrades, sharp corners, and differential settlement without creating high stress points. This makes it ideal for landfill caps, secondary containment bunds, and irregularly shaped ponds.
- Higher Elongation: It can stretch significantly more than HDPE before breaking, providing better resistance to stresses induced by ground movement.
- Excellent Multiaxial Stress Crack Resistance: Its ability to flex in multiple directions makes it highly durable in dynamic conditions.
- Good Puncture Resistance: While not as hard as HDPE, its softness allows it to deform around a puncturing object, often providing better real-world puncture resistance.
These properties make LLDPE the preferred choice for projects where long-term settlement is anticipated or where the liner must fit complex, non-uniform shapes.
The most critical mistake an installation crew can make is to weld LLDPE using the exact same parameters as HDPE. While both are polyethylene, their welding behaviors are distinctly different. Understanding these differences is the key to achieving a successful seam.
LLDPE has a broader "melting window" than HDPE. This means it transitions from solid to molten over a wider range of temperatures, making it somewhat more forgiving to minor temperature fluctuations. However, it is also much softer when molten. This requires a delicate balance of heat, speed, and pressure.
Here is a summary of the key behavioral differences:
| Welding Characteristic | Polietileno de alta densidade (HDPE) | Polietileno Linear de Baixa Densidade (LLDPE) |
|---|---|---|
| Material Hardness | Rigid and stiff | Soft and highly flexible |
| Melting Behavior | Sharp, narrow melting point | Softer, wider melting window |
| Temperature Sensitivity | Requires high, precise temperatures | Requires lower temperatures; prone to overheating |
| Pressure Sensitivity | Needs high roller pressure to fuse | Needs lower, carefully controlled pressure |
| Material Flow | Less prone to "squeezing out" at the seam | Easily squeezes out if pressure is too high |
| Handling | Holds its shape during deployment | Can stretch if pulled, leading to wrinkles |
Ultimately, welding LLDPE successfully means using lower temperatures and less pressure compared to HDPE, while carefully managing the material to prevent stretching and wrinkling at the seams.
3. Recommended Welding Equipment and Setup for LLDPE Liners
The equipment for welding LLDPE is similar to that for HDPE, but the setup and choice of specific models are important. Only installers with documented experience (we recommend a minimum of 500,000 sq. ft. of LLDPE installation) should be operating this equipment.
- Hot-Wedge Welders: For LLDPE, especially thinner grades, welders with rubber or silicone pressure rollers are often preferred over steel rollers to prevent excessive squeezing of the molten material. The machine must have precise temperature and speed controls.
- Extrusion Welders: A standard handheld extrusion welder is used for repairs and detail work. It is crucial to use a welding rod made of LLDPE that is chemically compatible with the geomembrane being installed.
- Hot Air Guns: Used for temporary tacking and small, detailed repairs.
- Testing Equipment: A field tensiometer, air pressure testing kit, and vacuum box are all essential for quality control.
All equipment must be properly calibrated and tested via trial welds before production welding begins.
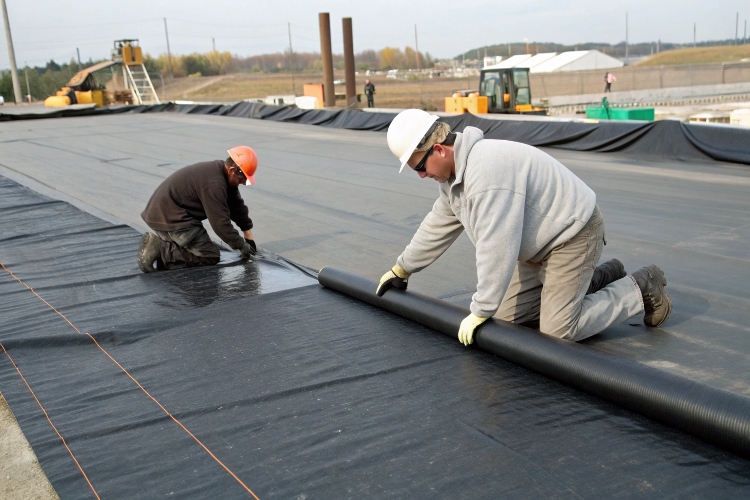
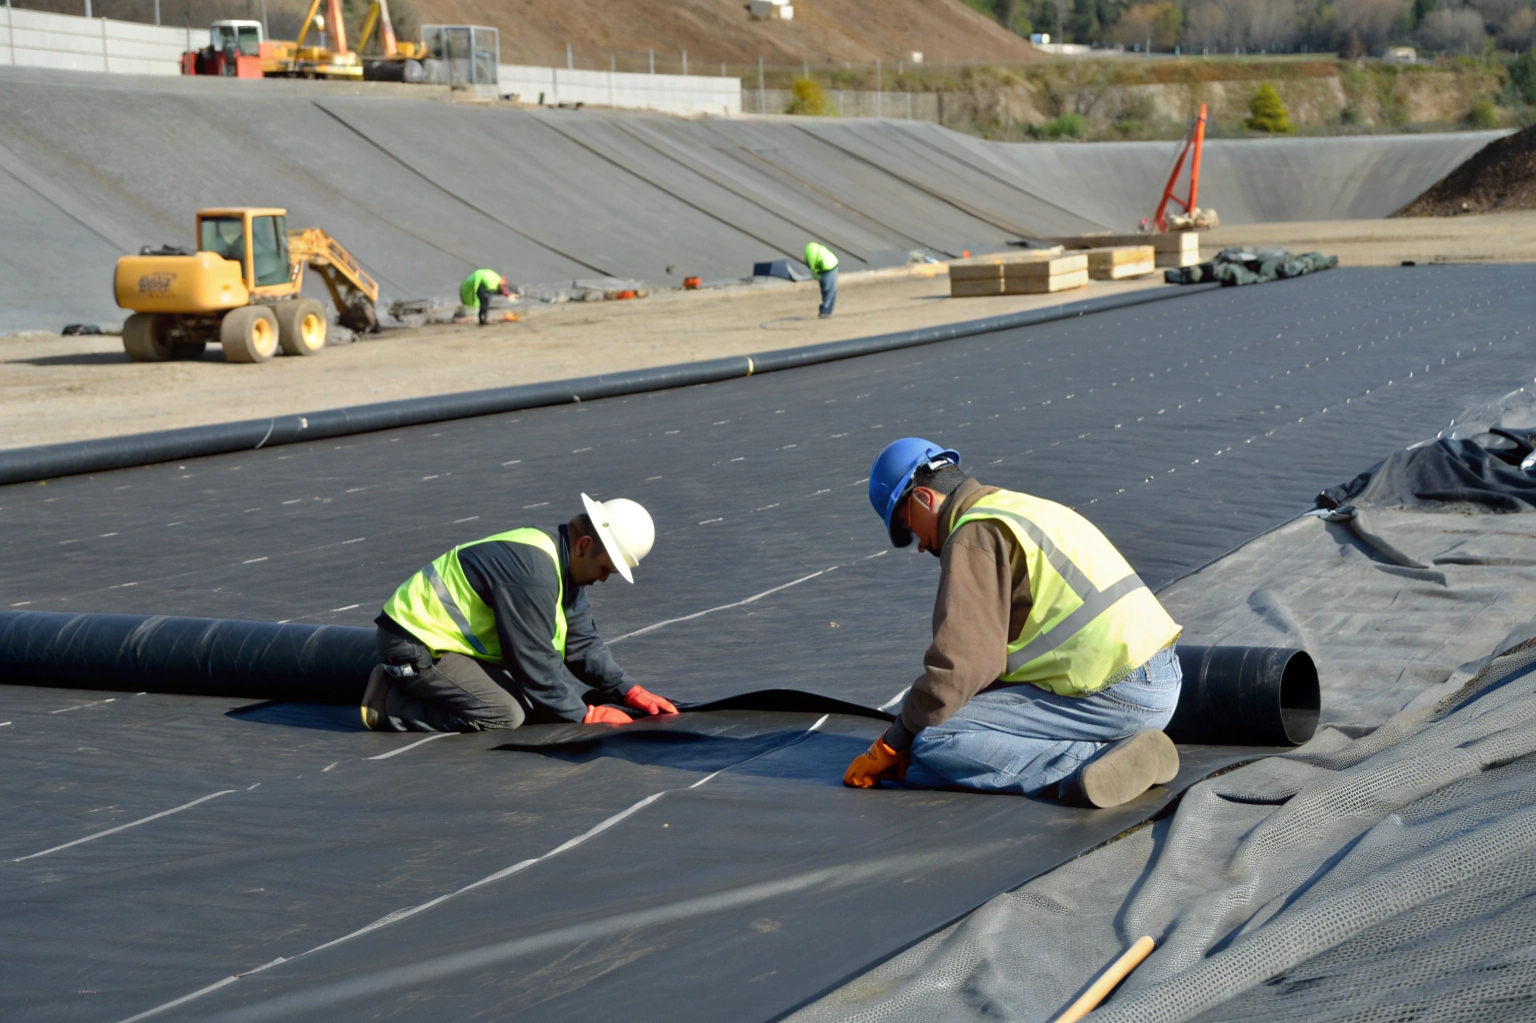
4. Pre-Welding Preparation: Surface Cleaning, Alignment, and Overlap Control
Proper preparation is the foundation of a good weld. While the core principles are the same for all geomembranes, the flexibility of LLDPE requires extra attention to alignment.
First, the subgrade must be smooth, compacted, and free of any sharp objects that could damage the liner. The liner must lie in intimate contact with the subgrade, with no bridging over voids.
For a detailed review of subgrade preparation, panel deployment, and anchoring, the process is nearly identical to our HDPE procedures. Please refer to our HDPE Geomembrane Installation Guide for a comprehensive checklist.
The key LLDPE-specific preparation steps are:
- Overlap Control: Ensure a minimum overlap of 150 mm (6 inches) for fusion welding and 100 mm (4 inches) for extrusion welding. This provides enough material for the weld and for destructive test sampling.
- Cleaning: The overlap zone must be perfectly clean and dry. Any moisture, dust, or mud will create a void in the weld.
- Wrinkle Management: LLDPE's flexibility can lead to more wrinkles. All wrinkles and "fishmouths" (folds in the overlap) must be dealt with before welding. A fishmouth must be cut flat along the seam and patched later with an extrusion welder.
5. Optimizing Welding Parameters: Temperature, Pressure, and Speed Settings
This is the most critical step for a successful LLDPE weld. The goal is to bring the material to its optimal molten state without overheating or applying so much pressure that the molten polymer is squeezed out from the seam. The parameters below are a starting point; every project requires trial welds to fine-tune these settings for the specific site conditions and material thickness.
| Welding Method | Temperature Range (°C) | Speed Range (m/min) | Key Considerations for LLDPE |
|---|---|---|---|
| Hot-Wedge Fusion | 310 – 420 | 1.0 – 2.0 | Start at the lower end of the temperature range. LLDPE's wider melting window makes it more forgiving, but it can be easily damaged by excessive heat. |
| Extrusion Welding | 200 – 260 (Extrudate) | 0.2 – 0.5 | The surface must be ground no more than 20 minutes before welding. Use a compatible LLDPE welding rod and focus on a steady hand to lay a uniform bead. |
Important: Welding should not proceed when ambient temperatures are below 5°C or above 45°C without specific procedures. In cold weather, preheating the seam area may be required. In hot weather, lower temperature settings are needed. Rain, snow, or high wind conditions are unacceptable for welding.
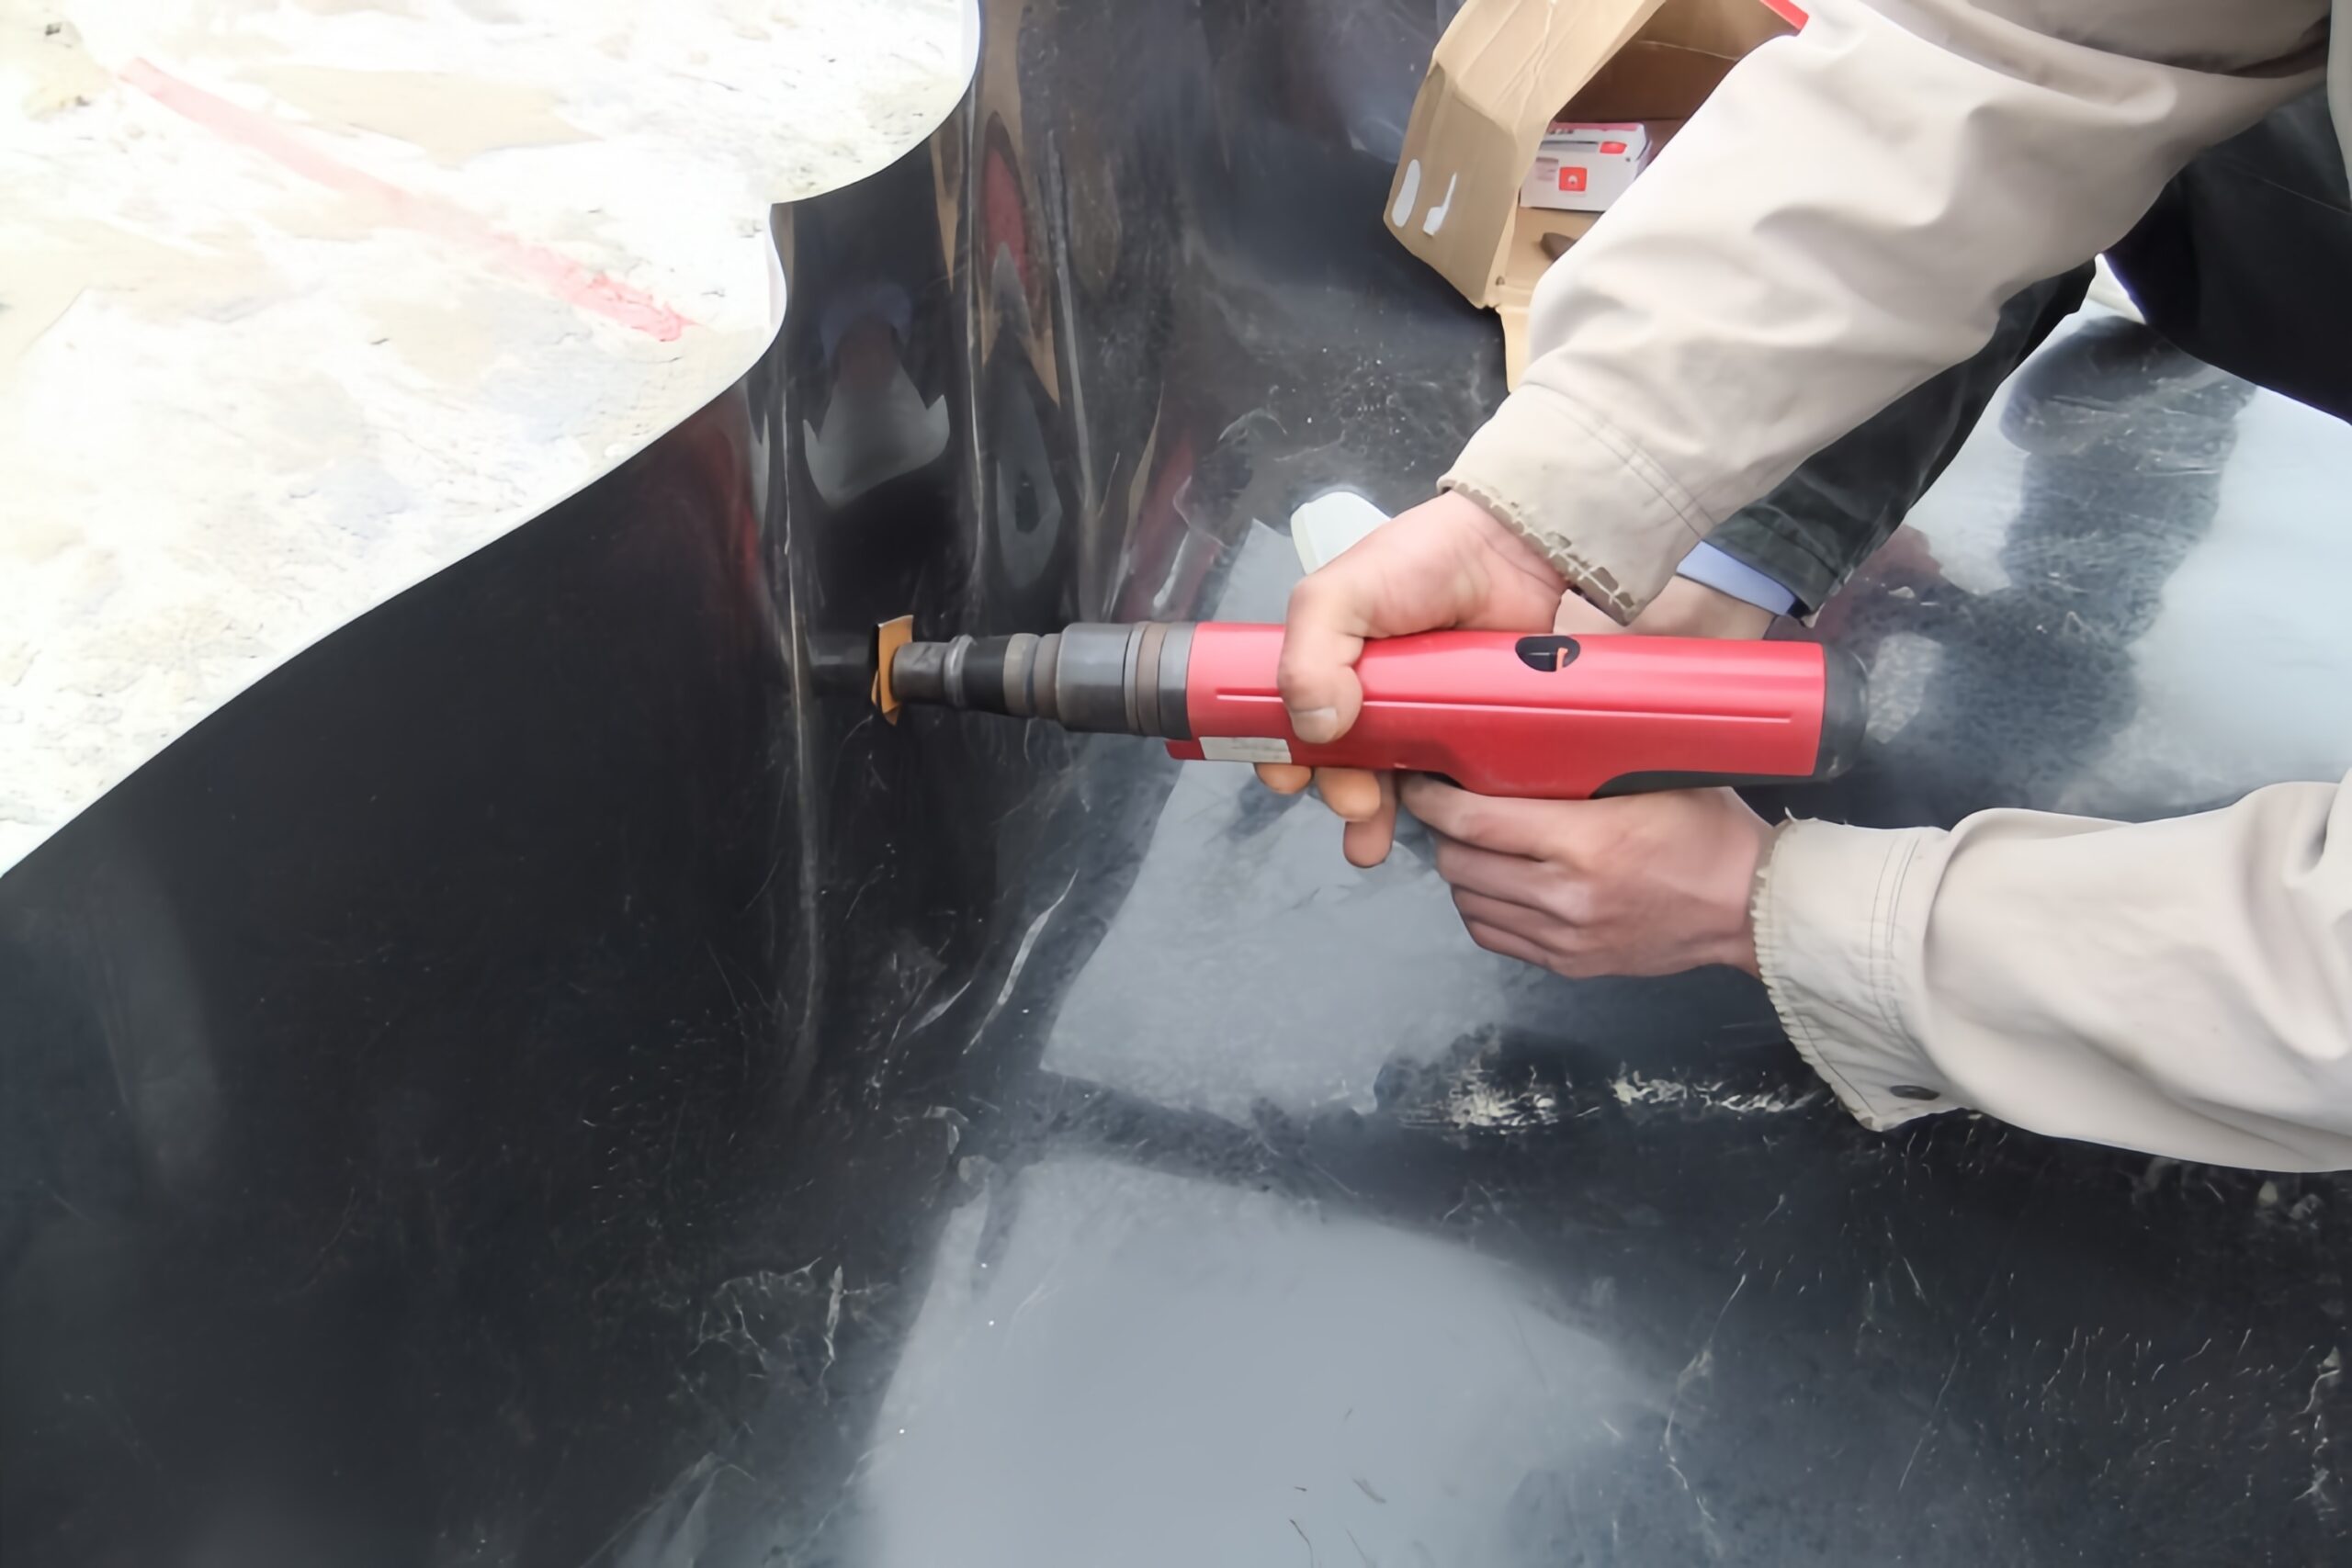
6. Techniques for Extrusion vs. Hot Wedge Welding on LLDPE Sheets
While hot wedge welding is used for the main field seams, extrusion welding is a craft used for all the detail work that makes a liner system complete.
Hot Wedge Welding
The process is straightforward: the machine travels along the pre-aligned overlap, heating and pressing the material together. With LLDPE, the operator's primary job is to ensure the liner is feeding into the machine without wrinkles and to watch for signs of overheating (excessive smoke or squeezed-out material).
Extrusion Welding
This manual process requires more skill and is used for patches, pipe boots, and T-seams.
- Preparation: The surfaces to be welded are lightly ground to remove the oxidized layer and create a fresh, textured surface for bonding. This area is then cleaned of all dust.
- Tacking: The patch or boot is tacked into place with a hot air gun to prevent it from moving.
- Welding: The operator lays a continuous bead of molten LLDPE from the extrusion gun along the edge of the patch. The key is to apply consistent pressure and maintain a steady speed to create a uniform, void-free weld.
7. On-Site Quality Testing Methods and Acceptance Criteria
Every single inch of weld must be verified. We perform 100% non-destructive testing on all field seams, backed up by periodic destructive testing to confirm the weld parameters.
- Trial Seams: Before any production welding, each welding machine and operator must produce a trial weld (1.5 m for fusion, 3 m for extrusion). This is done at the start of every shift and after any prolonged stop.
- Destructive Testing (DT): A sample from the trial weld is tested on-site with a tensiometer for peel and shear strength (ASTM D6392). The weld is only acceptable if the material itself breaks, not the seam. This is known as a Film Tear Bond (FTB) failure and confirms the weld is stronger than the parent sheet.
- Non-Destructive Testing (NDT):
- Air Pressure Test: For double-track fusion welds, the air channel is pressurized to check for leaks.
- Vacuum Box Test: For all extrusion welds and T-seams, a soapy solution is applied and a vacuum box is used to visually check for bubbles, which would indicate a leak.
For more information on the testing equipment and procedures, you can reference the quality control section in our HDPE Installation Guide.

8. Common LLDPE Welding Issues and Practical Troubleshooting Tips
Because of its unique properties, LLDPE presents specific challenges. Here’s how to solve them:
Issue: "Fishmouth" (Wrinkle in Seam)
- Causa: Improper panel alignment or material stretching during deployment. LLDPE's flexibility makes this more common than with HDPE.
- Solução: Do not weld over a fishmouth. Cut the wrinkle flat along the seam axis. After the main seam is welded, cover the cut area with a separate extrusion-welded patch.
Issue: Excessive Squeeze-Out
- Causa: Welding pressure is too high, or the temperature is too hot, causing the soft, molten LLDPE to be pushed out from the seam.
- Solução: Reduce the roller pressure on the hot-wedge welder or lower the temperature. Perform a new trial weld to confirm the updated parameters.
Issue: Insufficient Fusion (Cold Weld)
- Causa: Temperature is too low or travel speed is too fast. The material didn't get hot enough to fuse properly.
- Solução: Increase the temperature and/or decrease the speed. A section with a cold weld must be cut out and re-welded or capped with an extrusion patch.

9. Best Practices for Ensuring Flexible and Durable Seam Performance
Beyond the technical welding parameters, overall project management ensures a successful LLDPE installation.
- Use Certified Installers: This cannot be overstated. Only work with crews who have specific, documented experience installing LLDPE geomembranes.
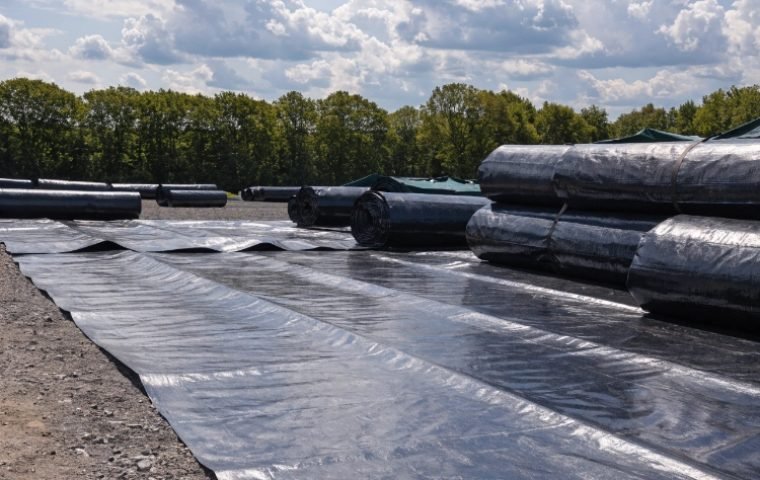
- Proper Material Handling: Store rolls on a smooth surface, protected from traffic and damage. Ensure all rolls are properly labeled with manufacturer, thickness, and lot number.
- Meticulous Documentation: Keep daily logs of everything: panel layout, roll numbers used, welder ID for each seam, weather conditions, and all QC test results. This data is invaluable for project sign-off and warranty.
- Protect the Liner: Once a section is welded and has passed QC, it should be covered with its protective soil or geotextile layer as soon as possible to protect it from UV exposure and accidental damage.
Conclusão
LLDPE geomembrane is an excellent material for projects that demand flexibility and durability, but it is not a drop-in replacement for HDPE. Its unique welding characteristics require lower temperatures, careful pressure control, and skilled operators who understand its behavior. By respecting these differences, implementing rigorous quality control, and following the specific techniques outlined in this guide, you can confidently build long-lasting, high-performance LLDPE containment systems.