Under-ordering geomembrane causes costly project delays when you run out of material. Over-ordering wastes your budget on liner that will sit in storage. A systematic calculation is key.
First, calculate the total surface area, including the base, sloped sides, and anchor trenches. Next, add allowances for welding overlaps (typically 10-15 cm per seam) and general waste (5-10%). Finally, add a 5-15% contingency to cover unforeseen issues and repairs.
I remember a client working on a large irrigation pond who calculated his needs based on the simple length and width of the water surface. He completely forgot about the sloped sides and the anchor trench. Halfway through the installation, his crew ran out of material, leading to a two-week delay and expensive air freight costs for a supplementary order. This experience taught me a valuable lesson: accurate calculation is not just about geometry; it's about planning for the realities of a construction site. Let's walk through the right way to do it.
How Do I Measure the Total Lining Area, Including Slopes and Anchor Trenches?
Calculating only the flat "blueprint" area is a common mistake. This figure dramatically underestimates the true amount of material needed, leading to shortages and project delays once installation begins.
Start by measuring the flat bottom area. Then, calculate the area of the sloped sides separately, remembering that a slope's surface is longer than its vertical depth. Finally, add a perimeter strip for the anchor trenches to get your total base area.
Breaking Down the Measurement Process
To get this right, you need to think in three parts. I always guide my clients to calculate these separately and then add them together.
-
1. Calculate the Base Area: This is the most straightforward part. For a rectangular or square pond, simply multiply the length by the width of the bottom flat surface (e.g., 50 meters long x 20 meters wide = 1000 m²).
-
2. Calculate the Slope Area: The sloped sides require more material than you might think. You cannot just use the depth. You must calculate the area of each of the four trapezoidal side walls. A simple way to estimate the total liner size for a rectangular pond is:
- Total Liner Length = Bottom Length + (2 x Depth)
- Total Liner Width = Bottom Width + (2 x Depth)
This gives you the dimensions of a single flat sheet that would cover the entire area.
-
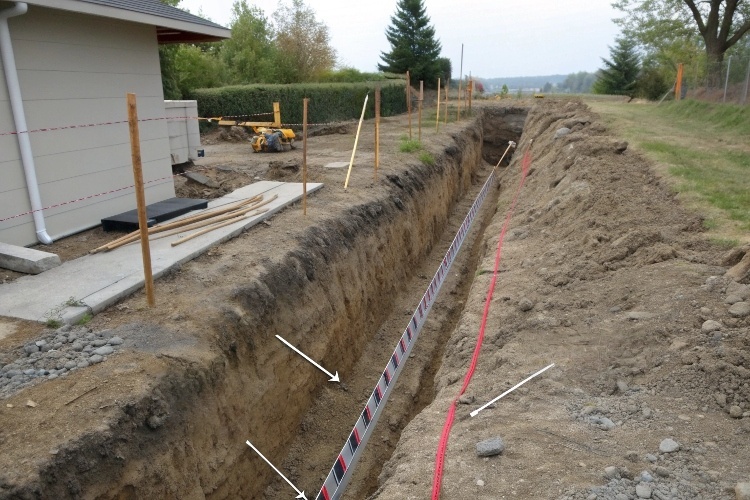
3. Add the Anchor Trench Allowance: The geomembrane must be secured in a trench at the top of the slope. You need to add extra material all around the perimeter for this. A standard rule is to add 0.5 to 1.0 meters of material on all sides for the anchor trench.
How Can I Convert the Measured Area into Actual Geomembrane Roll Quantity?
You have your total required square meters, but our factory produces geomembrane in large rolls. Ordering incorrectly can lead to buying too many rolls or creating layouts with excessive waste and seams.
Divide your project's total width by the effective width of a geomembrane roll (roll width minus overlap) to determine how many panels you need. Then, multiply this by the required panel length to get the total linear meters to order.
From Square Meters to Rolls
As a supplier, this is where we can add a lot of value by helping clients create an efficient panel layout plan. Here is the process we follow:
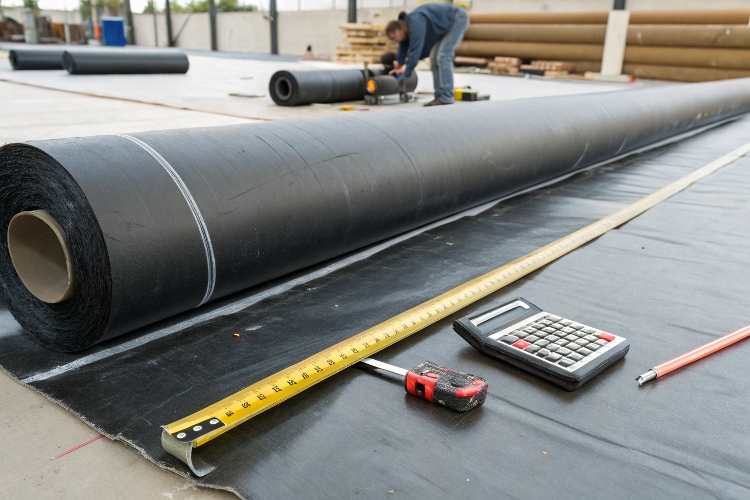
- Confirm Roll Dimensions: We produce rolls in standard widths like 6m, 7m, or 8m, and lengths are often 50m, 100m, or longer. Knowing these dimensions is the first step.
- Determine the Effective Width: You will lose 10-15 cm on every welded seam. So, a 7-meter wide roll only provides about 6.85 meters of effective coverage.
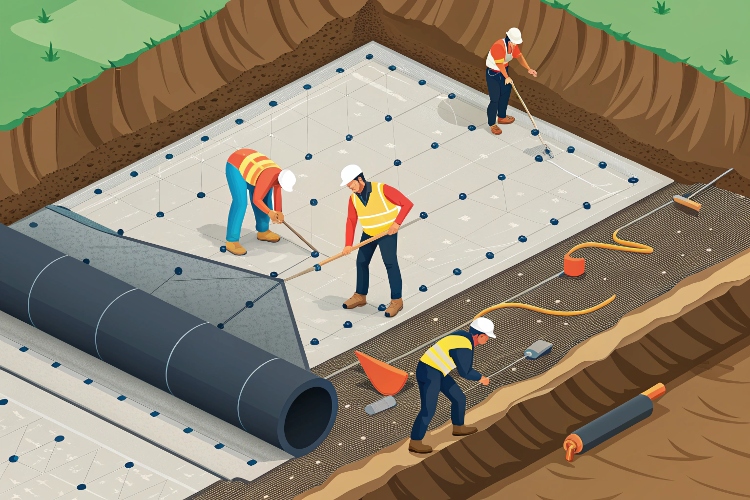
- Create a Layout Plan: Plan how you will lay the panels across the site. It is usually best to run the panels down the longest dimension to minimize the number of seams and potential points of failure.
- Calculate the Number of Rolls: Once you know the total linear meters you need, you can easily calculate the number of rolls. For example, if you need 800 linear meters and the rolls are 100m long, you will need 8 rolls. Always round up to the next full roll.
| Step | Action | Example |
|---|---|---|
| 1. Total Area | Calculate total liner area | 2,500 m² |
| 2. Layout | Plan shows 5 panels, each 70m long | Total = 350 linear meters |
| 3. Roll Length | Standard roll length is 100m | |
| 4. Rolls Needed | Total length / Roll length (round up) | ⌈350 / 100⌉ = 4 rolls |
How Should I Account for Welding Overlaps, Losses, and Irregular Shapes?
An exact area calculation is still not enough. On-site work involves cutting, overlapping, and fitting, all of which consume material. Ignoring these "hidden" losses will leave you short.
Add a waste factor of 5-10% for simple rectangular projects. For projects with irregular shapes, many corners, or pipe penetrations, increase this to 10-15%. This accounts for material lost to overlaps, trimming, and fitting around details.
The Reality of On-Site Work
Think of this as the difference between a raw ingredient amount in a recipe and what you actually need to buy from the store. You always buy a bit extra.
- Welding Overlaps: Every seam where two panels are welded together requires an overlap of 10 to 15 cm (4 to 6 inches). While small for one seam, this adds up significantly across a large project. For a 7m wide roll, a 15cm overlap accounts for over 2% of the material width on every single panel.
- Cutting and Trimming: The edges of the liner area are rarely perfectly straight. Material must be trimmed to fit the exact site boundaries. This trimming creates offcuts, which are considered waste.
- Irregular Shapes and Penetrations: If your project has curves, columns, or pipes passing through the liner, your installation team will need to cut custom-shaped patches and boots. This process is inefficient by nature and generates a lot of small, unusable offcuts. The more complex the shape, the higher the waste factor you need to apply.
How Much Extra Material Should I Include to Stay Within Budget and Avoid Shortages?
Even with perfect calculations and waste allowances, unexpected issues can happen. A misplaced cut, a damaged section, or a minor design change can deplete your material stock, causing major delays.
A contingency of 5-15% is a wise investment. Use a 5% contingency for simple, local projects. Increase this to 10-15% for complex projects, sites in remote locations, or if future repairs might be needed. This buffer is your project's safety net.

Planning for the Unexpected
This contingency percentage is added after all your other calculations (base area, slopes, overlaps, and waste). Think of it as insurance against things that can and do go wrong.
When to Use a Higher Contingency (10-15%):
- Remote Locations: If your project site is far from our port or your warehouse, the cost and time to ship a single replacement roll are extremely high. It's much cheaper to have extra material on-site from the beginning.
- Complex Geometry: Projects with many corners, sumps, and details have more potential for installation errors and require more material for detailed work.
- Future Repairs: Leaving a spare roll on-site is smart planning. It ensures you have the exact same material from the same production batch available for any future repairs.
- Thermal Expansion: In very hot climates, installers may need to leave a bit of slack (1-3%) in the panels to account for thermal expansion and contraction, which consumes more material.
This extra amount provides peace of mind and is a hallmark of a well-planned project.
Conclusão
Accurate geomembrane calculation is a four-step process: measure the full area, account for waste, convert to rolls, and add a contingency. This ensures you buy right the first time.