Geosynthetic Clay Liners (GCLs) are a remarkable technology. The concept seems simple: a thin layer of sodium bentonite clay sandwiched between two geotextiles. When hydrated, it swells up to 17 times its original volume, creating an incredibly impermeable hydraulic barrier. But this simple concept relies on disciplined and precise installation. A small mistake in preparation can render this powerful material completely ineffective.
Many installation issues we see in the field stem from a misunderstanding of how a GCL works. The performance isn't just in the material; it's in the interaction between the material, the subgrade it rests on, and the cover material that confines it. This guide is a step-by-step walkthrough of the critical preparation and considerations you must address voor en during GCL placement. Following these steps will ensure your GCL performs to its full potential, providing a secure, self-healing, and long-lasting containment solution.
Understanding Why Proper Preparation Is Critical for GCL Performance
A GCL's waterproofing magic lies in the bentonite's ability to hydrate and swell under confinement, forming a dense, monolithic barrier with a permeability thousands of times lower than compacted clay. This process, however, is critically dependent on the installation environment.
If the subgrade is uneven, the GCL "bridges" over low spots, leaving voids where the bentonite cannot form a proper seal. If the GCL is punctured and the material is not in intimate contact with the ground, its "self-healing" properties are compromised. Most importantly, if the bentonite hydrates prematurely—from rain or standing water before it is properly covered and confined—it loses its sealing potential and can even become slippery and unstable. Proper preparation is not about aesthetics; it is about creating the perfect conditions for the bentonite to do its job.
Site and Subgrade Preparation Requirements
The foundation is everything. You cannot achieve an effective GCL installation on a poorly prepared subgrade. This is the most labor-intensive part of the process, and it cannot be rushed.
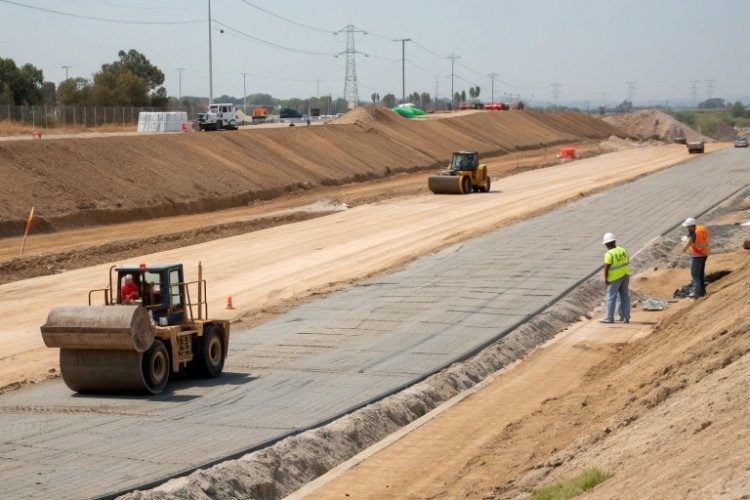
Subgrade Smoothness, Compaction, and Bearing Capacity
The goal is to create a smooth, firm, and unyielding surface.
- Kompaksie: The subgrade soil should be compacted to a minimum of 85% of its maximum dry density. This prevents future settlement that could create voids beneath the GCL.
- Smoothness: The surface should be free of abrupt elevation changes. All surfaces must be rolled with a smooth-drum roller to create a uniform plane.
- Bearing Capacity: The ground must be stable enough to support construction equipment and the final weight of the cover soil and contained materials without deforming.
Removal of Sharp Objects, Roots, and Debris
This is a non-negotiable step. Go over the entire area meticulously.
- Remove all sharp rocks, stones, roots, construction debris, or any object larger than 50 mm (2 inches) in diameter.
- Pay special attention to the transition areas between the floor and the slopes, as these areas often collect debris.
- If the subgrade is naturally rocky or consists of coarse gravel, a 10-20 cm (4-8 inch) cushioning layer of sand or fine-grained soil must be installed and compacted on top of it before GCL placement.
Moisture Condition Control of the Foundation Soil
The surface of the subgrade should be essentially dry at the time of GCL deployment.
- While a slightly damp surface is acceptable, there should be no visible standing water, puddles, or soft, muddy spots.
- If the site has a high water table or is prone to water accumulation after rain, effective dewatering measures must be in place and active before and during installation.
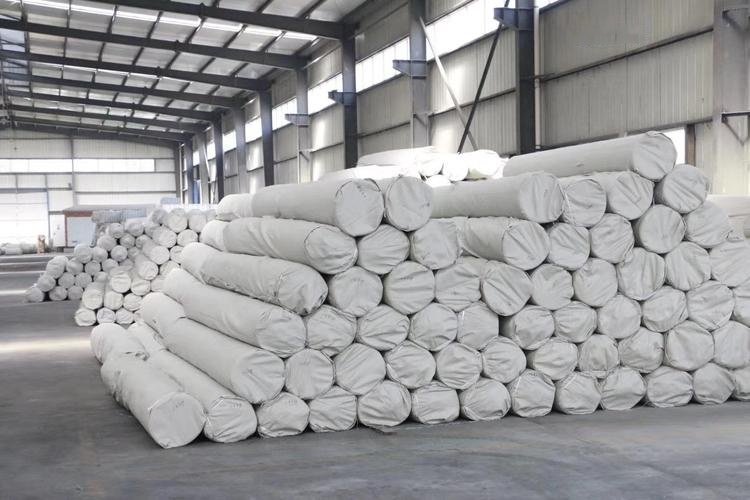
Material Inspection and Storage Before Installation
Your GCL rolls will arrive on site well-packaged, but they are not indestructible. Proper reception, inspection, and storage are the first steps in quality control.
Checking GCL Rolls for Damage and Labeling
As the rolls are unloaded, visually inspect each one.
- Check the protective wrapping for significant tears, punctures, or signs of water exposure.
- Confirm that the labels on the rolls match the product you ordered and the information on the bill of lading.
- If a roll shows signs of damage or has become wet during transit, quarantine it immediately for a more detailed inspection with the supplier or quality control engineer. Bentonite loss from a damaged roll can create a weak spot in your liner system.
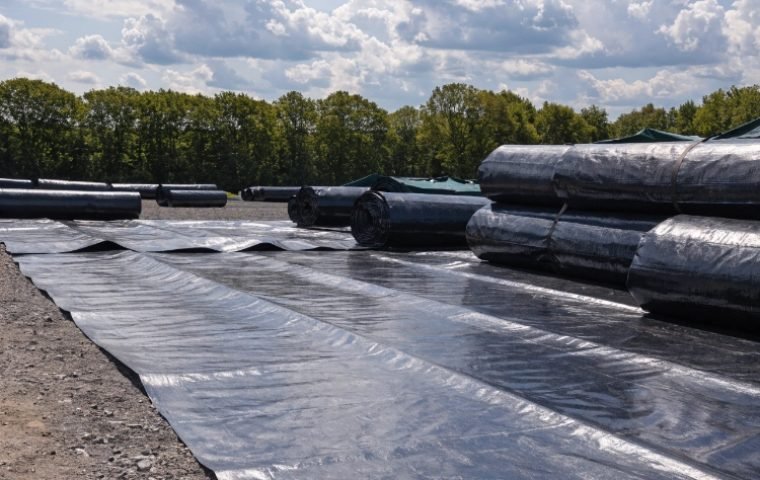
Proper Storage
Never store GCL rolls directly on the ground.
- Keep them dry: Store rolls on a raised platform or on dunnage (wooden blocks) to keep them off the damp ground.
- Cover them: The entire stack must be covered with waterproof tarpaulins, secured against wind. This is the primary defense against rain and premature hydration.
- Protect from UV: The covering also protects the outer geotextile layers from ultraviolet (UV) degradation if storage is expected to be lengthy. While the geotextiles contain UV inhibitors, long-term exposure should always be avoided.
Weather and Environmental Conditions to Consider
GCL installation is highly weather-dependent. Monitor the forecast closely and be prepared to stop work.
- Precipitation: Do not install GCLs during periods of rain, snow, or heavy fog. Even light precipitation can cause premature hydration of the bentonite in the exposed overlaps, which is the most vulnerable part of the system.
- Freezing Conditions: Installation should not proceed if the ground is frozen. The rigid, uneven surface of frozen ground prevents the GCL from lying flat and achieving intimate contact.
- Wind: GCL panels are large and relatively lightweight, acting like giant sails in the wind. In windy conditions (>15 km/h or 10 mph), deployment becomes difficult and dangerous. Have sandbags readily available to place on deployed panels to prevent them from being lifted or displaced.
Layout Planning and Panel Placement
A few hours of planning can save days of trouble in the field.
Panel Orientation Planning
Always orient GCL panels to work with gravity and water flow, not against them.
- On Slopes: Panels should be deployed vertically, from the crest of the slope to the toe. Do not lay panels horizontally across the slope.
- On the Floor: Panels should be oriented along the direction of the slope, with the upgradient panel overlapping the downgradient panel. This creates a "shingle" effect, ensuring that any surface water flows over the seams rather than into them.
Overlap Layout Strategy
Seams are the most critical part of a GCL system.
- The standard overlap width is 150 mm to 300 mm (6 to 12 inches).
- Critically, seams should never be located in a corner. Corners are areas of high stress concentration. All seams should be offset from any inside or outside corner by at least 500 mm (20 inches).
- Plan your panel layout to minimize the number of seams in high-risk areas. Factor in a wastage rate of 5-10% in your material quantity calculations to account for overlaps and cutting.
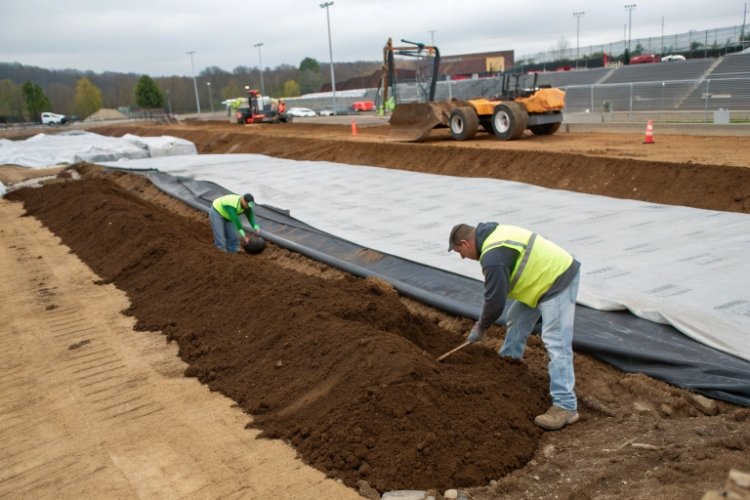
Key Installation Precautions During GCL Placement
Handle the GCL with care. It is a robust material, but it is not indestructible.
- Deployment: Use a spreader bar attached to an excavator or other equipment to unroll the GCL. Never drag a GCL panel across the subgrade. Dragging can damage the geotextile and displace the subgrade soil.
- Overlap Integrity: Ensure the full minimum overlap width is maintained along the entire length of the seam. After placing the overlapping panel, gently lift its edge and inspect the seam area to ensure no soil or debris has become trapped between the layers.
- Bentonite Enhancement: It is best practice to apply a line of ancillary bentonite (either a dry powder or a paste) within the overlap area just before placing the top panel. We recommend a rate of 0.4 kg per linear meter (0.27 lb per linear foot) to ensure a high-integrity, bentonite-rich seal.
Hydration Control and Covering Requirements
This is the rule that defines GCL installation: cover it as you go.
Preventing Premature Hydration
This is the single most important rule. Unconfined hydration is disastrous. When bentonite swells without cover soil to push against, it expands upwards and outwards, losing its density and its ability to form a low-permeability seal. An unconfined, hydrated GCL is effectively a failed installation.
Timing and Thickness of Cover
- Time Limit: Any installed GCL panel must be covered with its confining layer (either soil or a geomembrane) by the end of the same working day. Never leave GCLs exposed overnight.
- Cover Soil: If using a soil cover, it should be placed carefully to avoid damaging the GCL. The minimum recommended confining stress is typically achieved with a 300 mm (12 inch) thick layer of soil. This cover protects the GCL from UV, desiccation (drying out), and provides the necessary confinement for proper swelling.
Quality Control and Inspection During Installation
Continuous inspection is mandatory.
- Visuele inspeksie: Walk every seam to verify overlap width. Look for any tears, punctures, or areas where bentonite might have been lost. Inspect for "bridging" over low spots in the subgrade.
- Repair Methods: Any damage must be repaired immediately. For small punctures or tears, cut a patch of GCL that extends at least 300 mm (12 inches) beyond the damaged area in all directions. Apply bentonite paste around the edges of the tear and place the patch over top, securing it with a bit of extra bentonite.
- Dokumentasie: Keep detailed records, including a panel layout diagram, dates of installation for each area, a log of all inspections, and a record of any repairs made.
Common Installation Problems and How to Avoid Them
| Problem | Cause | Prevention |
|---|---|---|
| Bridging / Voids | Uneven or poorly compacted subgrade. | Meticulous subgrade preparation; smooth-drum rolling all surfaces. |
| Leaking Seams | Insufficient overlap width; soil trapped in the overlap; no bentonite enhancement. | Strict adherence to overlap dimensions; clean overlaps before seaming; use ancillary bentonite. |
| Premature Hydration | Installation during rain; leaving GCLs exposed overnight or for too long before covering. | Monitor weather forecasts; do not install if rain is imminent; cover all laid GCLs by the end of the day. |
| Panel Displacement | High winds lifting and moving panels before they are covered. | Stop work in high winds; have sandbags ready to secure deployed panels immediately. |
Summary: Best Practices for Successful GCL Installation
A GCL is an exceptional waterproofing product, but its success is entirely in the hands of the installer. To ensure long-term performance, you must treat the installation as a systematic process where every detail matters. The formula for success is straightforward:
- Prepare the subgrade perfectly.
- Handle and store the material correctly.
- Respect the weather.
- Execute the overlaps with precision.
- And most importantly, cover the GCL immediately.
By focusing on these fundamentals, you transform a simple roll of material into a powerful, self-healing hydraulic barrier that will provide decades of reliable containment.