A geomembrane liner is the last line of defense for critical containment projects. But what happens when it fails? A single breach can lead to environmental contamination, costly remediation, and project-wide failure. The stakes are simply too high for mistakes.
This guide explains the common causes of geomembrane failure and provides actionable prevention measures. We'll cover everything from material selection to installation best practices, helping you ensure your lining system in landfills, mines, ponds, or reservoirs delivers the long-term performance you expect. Let's make sure your project is built to last.
2. Common Causes of Geomembrane Failure
From our experience as a supplier, geomembrane failures can almost always be traced back to one of four areas. Understanding these root causes is the first step toward preventing them.
2.1. Poor Material Quality
The foundation of a successful lining system is the material itself. Using low-grade materials is a recipe for disaster. Key issues include:
- Inferior Resin: Some manufacturers cut costs by using recycled or off-spec resin. This significantly compromises the liner's chemical and stress-crack resistance, leading to premature failure under tension. We insist on using 100% virgin-grade resin for that very reason.
- Inadequate Stabilization: A lack of sufficient carbon black (typically 2-3%) or UV stabilizers means the geomembrane will degrade quickly when exposed to sunlight, becoming brittle and prone to cracking.
- Manufacturing Defects: Non-uniform thickness, pinholes, or other surface defects created during production create inherent weak points that can develop into leaks over time.
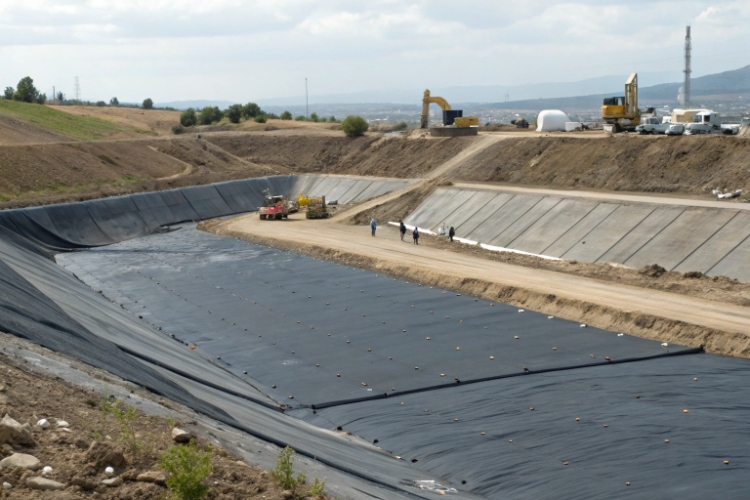
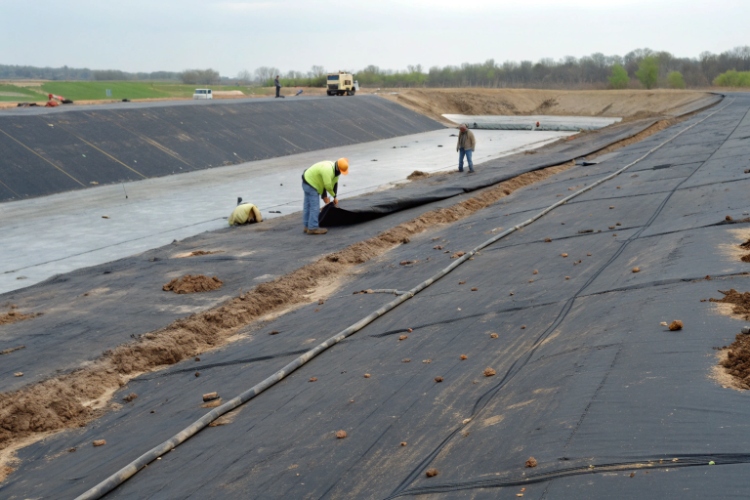
2.2. Improper Installation
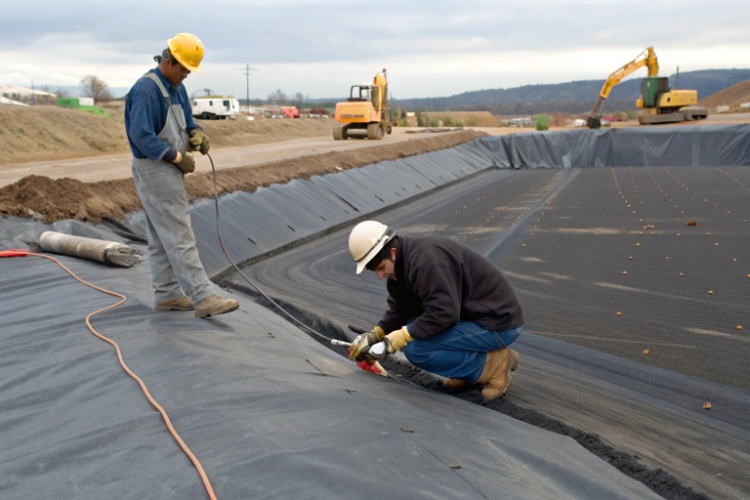
Even the highest-quality geomembrane will fail if installed incorrectly. Seam failures are the single most common installation-related issue we see.
- Incorrect Welding: Every material has an optimal welding "window" for temperature, speed, and pressure. Failing to control these parameters results in weak or burnt seams that will separate under stress. For HDPE, this is typically between 310–420°C.
- Besoedeling: Dust, moisture, or dirt on the seam area before welding prevents a proper bond, creating a direct path for leaks.
- Swak oppervlakvoorbereiding: Laying a liner over sharp stones, debris, or an inadequately compacted subgrade can cause punctures and uneven stress distribution from day one.
2.3. Mechanical Damage
A geomembrane is robust, but not indestructible. Mechanical damage often occurs due to a lack of care on the job site.
- Installation Damage: Dropping rolls, dragging the liner over rough surfaces, or accidental punctures from tools can all create holes that compromise the entire system.
- Heavy Equipment: Unprotected liners should never be driven on. The weight and tracks of heavy machinery can easily tear, puncture, or excessively stress the material.
- Foundation Issues: Uneven settlement of the subgrade can create immense localized stress on the geomembrane, leading to stretching, wrinkling, and eventual seam or panel failure.
2.4. Environmental Factors
Over time, the surrounding environment can degrade the liner if it wasn't specified correctly.
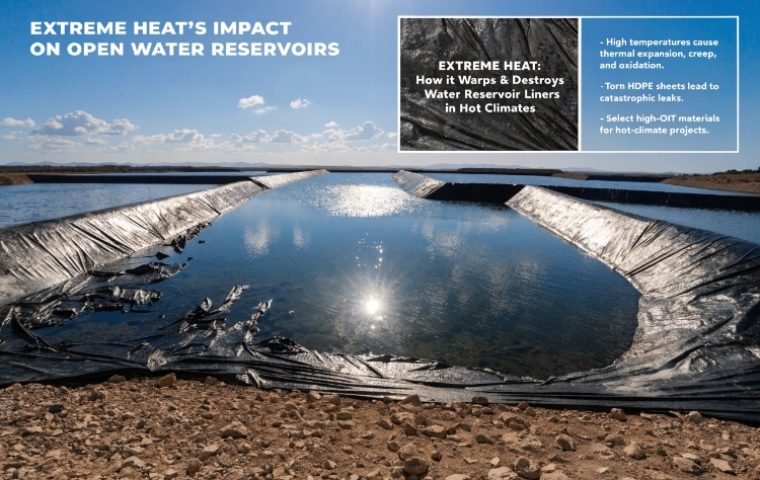
- UV and Thermal Exposure: If a geomembrane is left exposed to the sun, UV radiation will break down the polymer structure. Extreme temperature fluctuations also cause expansion and contraction, which can fatigue the material, especially at the seams.
- Chemical Attack: Not all geomembranes are created equal. Exposing a liner to chemicals it isn't designed to resist (e.g., specific hydrocarbons, high concentrations of acids) will cause it to swell, soften, and lose its integrity.
3. Signs and Detection of Geomembrane Failure
Detecting a failure early is critical to minimizing its impact. This requires both visual inspection and technical testing as part of a rigorous quality assurance program.
First, look for visual signs of distress. These are often the easiest to spot and can indicate underlying problems. Common signs include:
- Wrinkles or "whales" (large bubbles) that indicate trapped gas or liquid.
- Visible cracks, punctures, or tears on the surface.
- Discoloration or embrittlement, signs of UV degradation.
- Seam separation, where the edges of two panels have peeled apart.
However, many leaks are too small to see with the naked eye. That's why professional leak detection techniques are essential. These tests should be performed after installation but before the liner is put into service. Standard methods include:
- Vacuum Box Testing: A small section of a seam is placed under vacuum with a soap solution applied. Bubbles indicate a leak.
- Air Pressure Testing: For double-welded seams, the air channel between the two welds is pressurized. A loss of pressure indicates a leak in the seam.
- Spark Testing: A high-voltage probe is passed over the liner surface. If there's a pinhole or breach, a spark will jump to the conductive layer beneath, locating the fault.
- Electrical Leak Location (ELL): This method uses electrical currents to survey the entire liner surface (not just seams) to find leaks with pinpoint accuracy.

4. Prevention and Quality Control Measures
Preventing failure is far more effective and less expensive than repairing one. A successful project depends on a systematic approach to quality control before, during, and after installation.
4.1. Before Installation
- Choose a Certified Supplier: Partner with a trusted manufacturer who uses 100% maagdelike hars and can provide documentation proving their material meets industry standards like GRI-GM13 for HDPE.
- Specify Correctly: Ensure the geomembrane has the right UV resistance and chemical compatibility for your specific application.
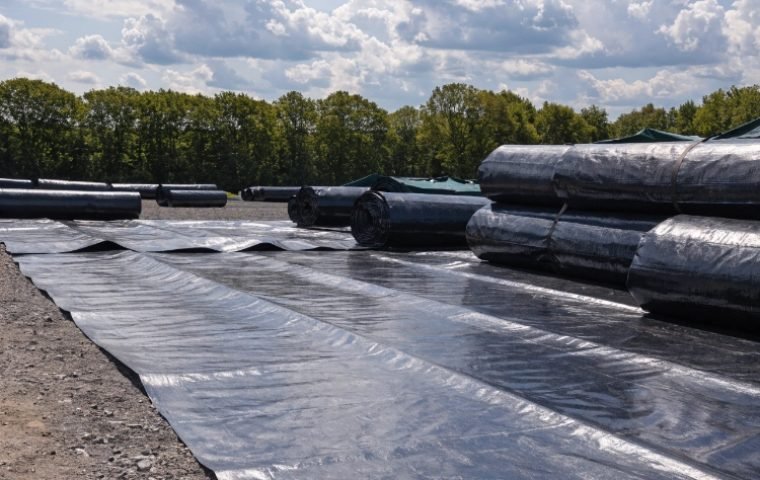
- Proper Storage: Store rolls on a level surface, away from direct sunlight and high heat, and keep them in their protective wrapping until they are ready to be deployed.
4.2. During Installation
- Use Qualified Technicians: All welding should be performed by certified welders who understand the specific parameters for the material.
- Berei die subgraad voor: The surface must be smooth, dry, and free of any sharp objects. We recommend using a protective geotextile underlayment (300–500 g/m²) on all but the most ideal subgrades.
- Control the Environment: Avoid installation during high winds, rain, or extreme temperatures.
- Test as You Go: Implement a rigorous testing protocol, including regular destructive seam tests (ASTM D6392) and non-destructive air channel or vacuum box testing for all seams.
4.3. After Installation
- Protect the Liner: Cover the geomembrane with a protective soil or geotextile layer as soon as possible after installation to shield it from UV rays and mechanical damage.
- Conduct Final Integrity Testing: Before filling the containment or putting it into service, perform a final integrity survey (like an electrical leak location survey) to ensure the entire system is leak-free.
- Repair Damage Immediately: If any damage is found, it must be repaired immediately by a qualified technician using proper extrusion or hot wedge welding techniques.
Gevolgtrekking
A geomembrane's long-term performance is not an accident. It is the direct result of combining high-quality materials with expert installation and diligent maintenance. By understanding the common causes of failure and implementing rigorous quality control at every stage, you can ensure your lining system functions reliably for decades.
Partnering with an experienced supplier who understands these challenges is your best strategy for success. Contact us for high-quality HDPE geomembranes and professional technical support for your lining projects.