Building a pool with concrete and tile is slow, expensive, and rigid. Project delays and budget overruns are common, making your dream water feature seem out of reach.
Geomembrane is used as a flexible, pre-fabricated, and impermeable liner that creates the waterproof barrier for pools and ponds. It conforms to any custom shape, installs quickly, and comes in colors like blue to provide a beautiful, durable, and cost-effective finish for any water feature.
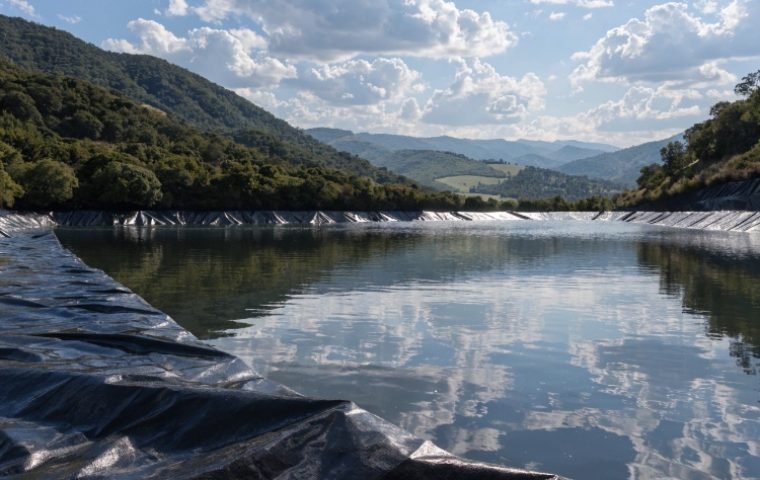
This isn't just a solution for small backyard ponds; it's a proven method for massive commercial projects. For example, one of our clients in Brazil used our HDPE geomembrana to construct a breathtaking 13,000-square-meter surf pool. They chose this method because it was faster, more reliable, and more cost-effective than a traditional concrete build-out of that scale. Let's break down why this technology is changing the way we build water features.
Why is geomembrane a cost-effective waterproofing solution for pools and ponds?
Traditional pool construction has huge material and labor costs. Waiting for concrete to cure kills project timelines and inflates budgets, making the entire process painfully slow and expensive.
Geomembrane is highly cost-effective because it requires less ground preparation, has no concrete curing time, and allows for faster installation. Large, factory-fabricated panels reduce on-site labor, slashing both project timelines and the overall budget compared to concrete, tile, or gunite construction.

The primary cost savings come from reducing time and labor. A concrete pool can take months to excavate, frame with rebar, pour, cure, and finish. In contrast, a geomembrane liner can often be installed in a matter of days once the site is prepared. For our client's 13,000 m² surf pool in Brazil, this time difference was a critical factor. Building a concrete structure of that size would have taken over a year, but with geomembrane, the installation was dramatically faster, allowing them to become operational much sooner. This speed translates directly into lower labor costs and a quicker return on investment.
| Factor | Traditional Concrete Pool | Geomembrane Lined Pool |
|---|---|---|
| Trošak materijala | High (Concrete, Rebar, Tile) | Moderate (Geomembrane, Geotextile) |
| Installation Time | Months (Requires curing) | Days or Weeks |
| Labor Needs | High (Multiple specialized crews) | Low (Fewer workers needed) |
| Design Flexibility | Limited to simple shapes | Excellent for complex curves |
Which geomembrane materials are best suited for decorative water features?
Choosing the wrong material can look unnatural or degrade quickly under pool chemicals and sun. You need a liner that is both durable and aesthetically pleasing to match your design vision.
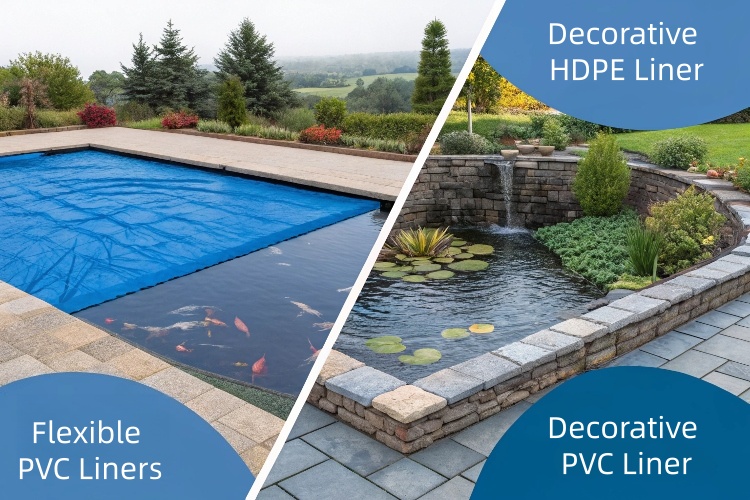
HDPE and PVC are excellent choices. Blue HDPE is popular for a traditional pool look and offers high resistance to UV and chemicals. For naturalistic ponds with plants and fish, flexible, certified non-toxic liners like RPE or EPDM are ideal to ensure aquatic life safety.
The best material depends entirely on the project's purpose and appearance.
The "Classic Blue Pool" Look
For recreational swimming pools, chlorinated water features, or large-scale projects like the surf park, blue HDPE geomembrane is a top choice. It provides the clean, inviting aesthetic of a traditional pool while offering superior chemical and UV resistance for long-term exposed use. We typically recommend a thickness of 0.75mm to 1.5mm for durability.
Natural Ponds and Water Gardens
For koi ponds, natural swimming pools, or decorative landscape features, the focus shifts to flexibility and safety for aquatic life.
- PVC: Very flexible and easy to seam, making it good for intricate shapes with shelves and planters. Ensure it is a fish-safe formulation.
- EPDM: A synthetic rubber that is extremely flexible and durable, but often comes at a higher price point.
- RPE (Reinforced Polyethylene): A strong yet lightweight option that is fish-safe and puncture-resistant.
How does geomembrane installation ensure long-term leak prevention and aesthetics?
A poorly installed liner can lead to leaks, wrinkles, and slippage. These issues undermine the entire project, resulting in costly repairs and an unprofessional finish that negates all the initial benefits.
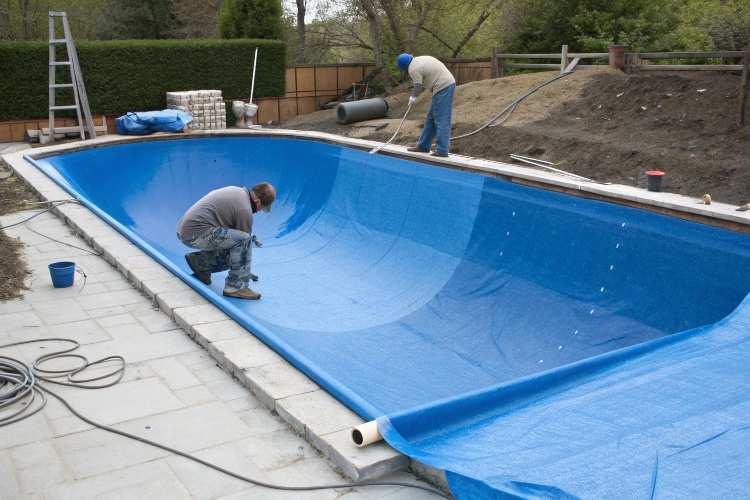
A successful installation relies on three key steps: a protective underlayment (geotextile), precise panel seaming (thermal welding), and secure edge anchoring. These steps prevent punctures, create a monolithic waterproof barrier, and ensure the liner remains smooth and taut for years.
Getting a professional, leak-proof finish is a systematic process.
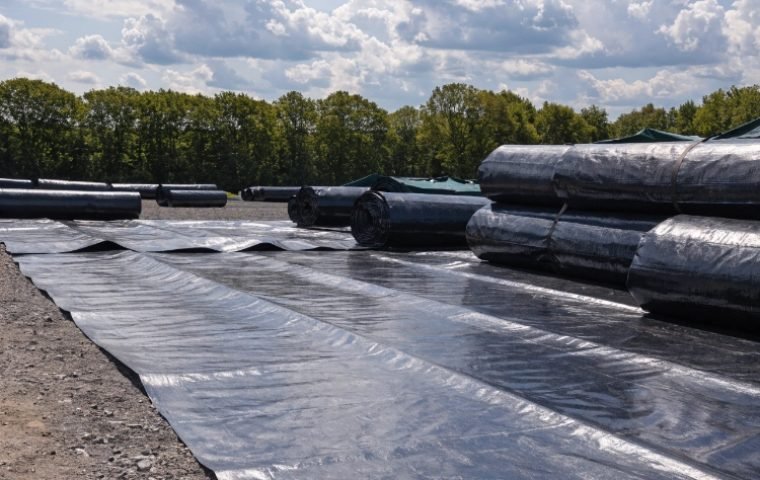
- Subgrade Preparation and Underlayment: The ground is smoothed and cleared of any sharp objects like rocks or roots. A thick, nonwoven geotextile fabric is laid down first. This cushion layer is critical—it protects the geomembrana from being punctured from below and allows gases to vent.
- Panel Layout and Welding: Large geomembrane panels are unrolled and positioned to minimize the number of seams. Trained technicians then use specialized hot-wedge or extrusion welders to thermally fuse the panels together. This process melts the polymer and fuses it under pressure, creating a seam that is often stronger than the parent material itself.
- Anchoring and Pipe Penetrations: The liner's edges are secured in an "anchor trench" dug around the perimeter or mechanically fastened to a concrete edge. Any pipes for drains, skimmers, or jets are sealed with custom-welded "boots," which are fittings made from the same geomembrane material to ensure a seamless, watertight seal around every penetration.
How can I choose the right geomembrane liner for my pool or landscape project?
With different materials, thicknesses, and colors available, selecting the ideal liner can be confusing. Making the wrong choice can lead to a shorter lifespan, installation difficulties, or an undesirable appearance.
First, define your project's primary function—recreational swimming or naturalistic pond. For pools, prioritize UV and chemical resistance (HDPE). For ponds, prioritize flexibility and aquatic safety (RPE/EPDM). Then, select a thickness (min. 0.75mm/30-mil) and color that match your design and budget.

Use this simple checklist to guide your purchasing decision:
- Determine the Application: Is it a chlorinated pool or a natural pond with fish and plants? This will be the biggest factor guiding your material choice between chemically-resistant HDPE/PVC and fish-safe RPE/EPDM.
- Assess the Shape: For a simple rectangular pool, a less flexible material like HDPE is fine. For a complex, free-form pond with many shelves and curves, a more flexible material like PVC or RPE will be much easier to install without wrinkles.
- Select the Right Thickness: For small decorative home ponds, a thickness of 0.5 mm (20 mil) is usually sufficient.
For higher-end or more demanding applications, consider using 0.75–1.0 mm (30–40 mil) liners for added durability and longevity.. - Consider the Aesthetics: Blue is standard for pools, creating a bright, inviting look. Black gives the illusion of depth and a more natural look for ponds, and it helps hide debris at the bottom.
- Verify Quality: Always source from a reputable supplier who can provide technical data sheets confirming UV resistance, tensile strength, and non-toxicity certificates if required for aquatic projects.
Zaključak
Geomembrane liners offer a fast, versatile, and cost-effective alternative to traditional pool construction. From residential ponds to massive surf parks, they provide a durable and beautiful waterproofing solution for any feature.